BYOGD – Be Your Own Graphic Designer

Post image - Be Your Own Graphic Deigner
Reka Veszeli, marketing tips, marketing, branding, social media
Navigate the website

BYOGD - Be Your Own Graphic Designer

Tools and tricks you must know

Learn how to create kick-a** graphic design by yourself. Make your own logo, website, social media images, downloadables and gifs without Photoshop or any previous experience. And all this for free!

Working with a professional graphic designer is amazing. But, let’s be real. If you’re about to build your own business, and you’ve just started, probably you don’t have the cash for that (yet). No worries, Canva has you covered.

Disclaimer: This post contains affiliate links. The post was last updated in June 2021.

Pinterest image for post - Be Your Own Graphic Deigner

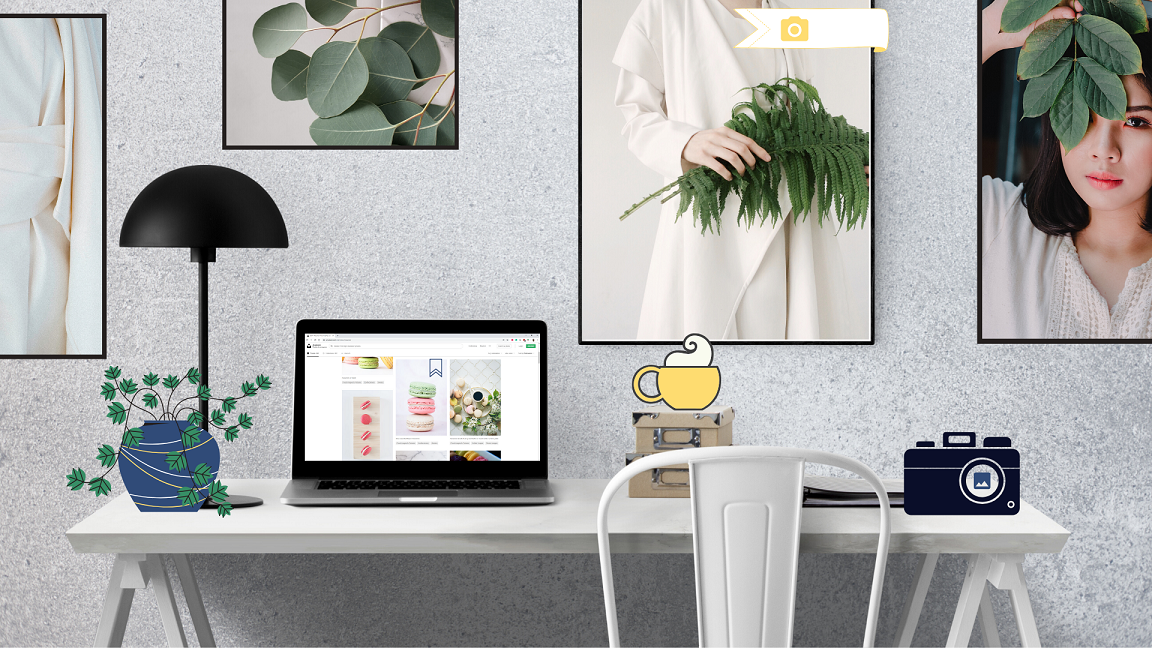
Image sources: unsplash.com/@amyhirschi, pexels.com/@olenkasergienko, pexels.com/@julieaagaard

I’ve been planning to write this post since I’ve started my blog in 2018. From day 1 I’ve been using Canva to design the graphic elements of my brand, edit images for my website and to create social media posts and downloadables. Needless to say, I love it, and I bet you’ll love it too.
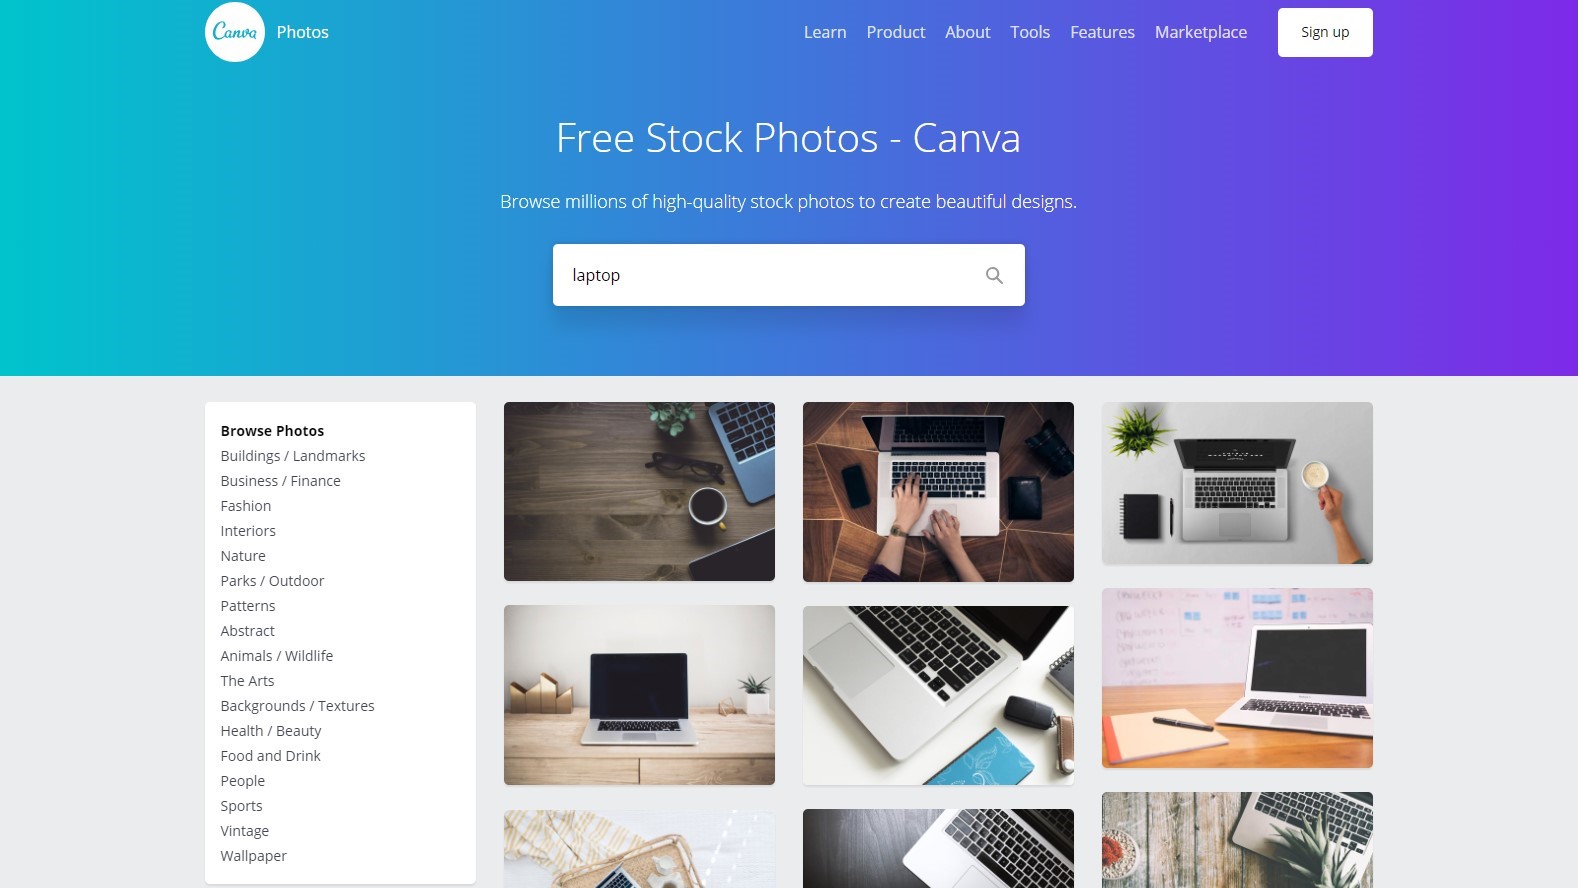
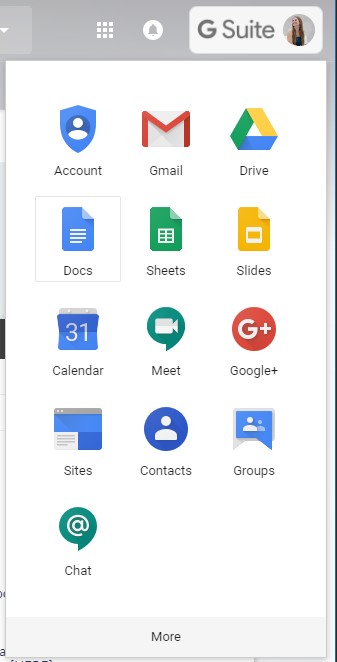
What is Canva.com?

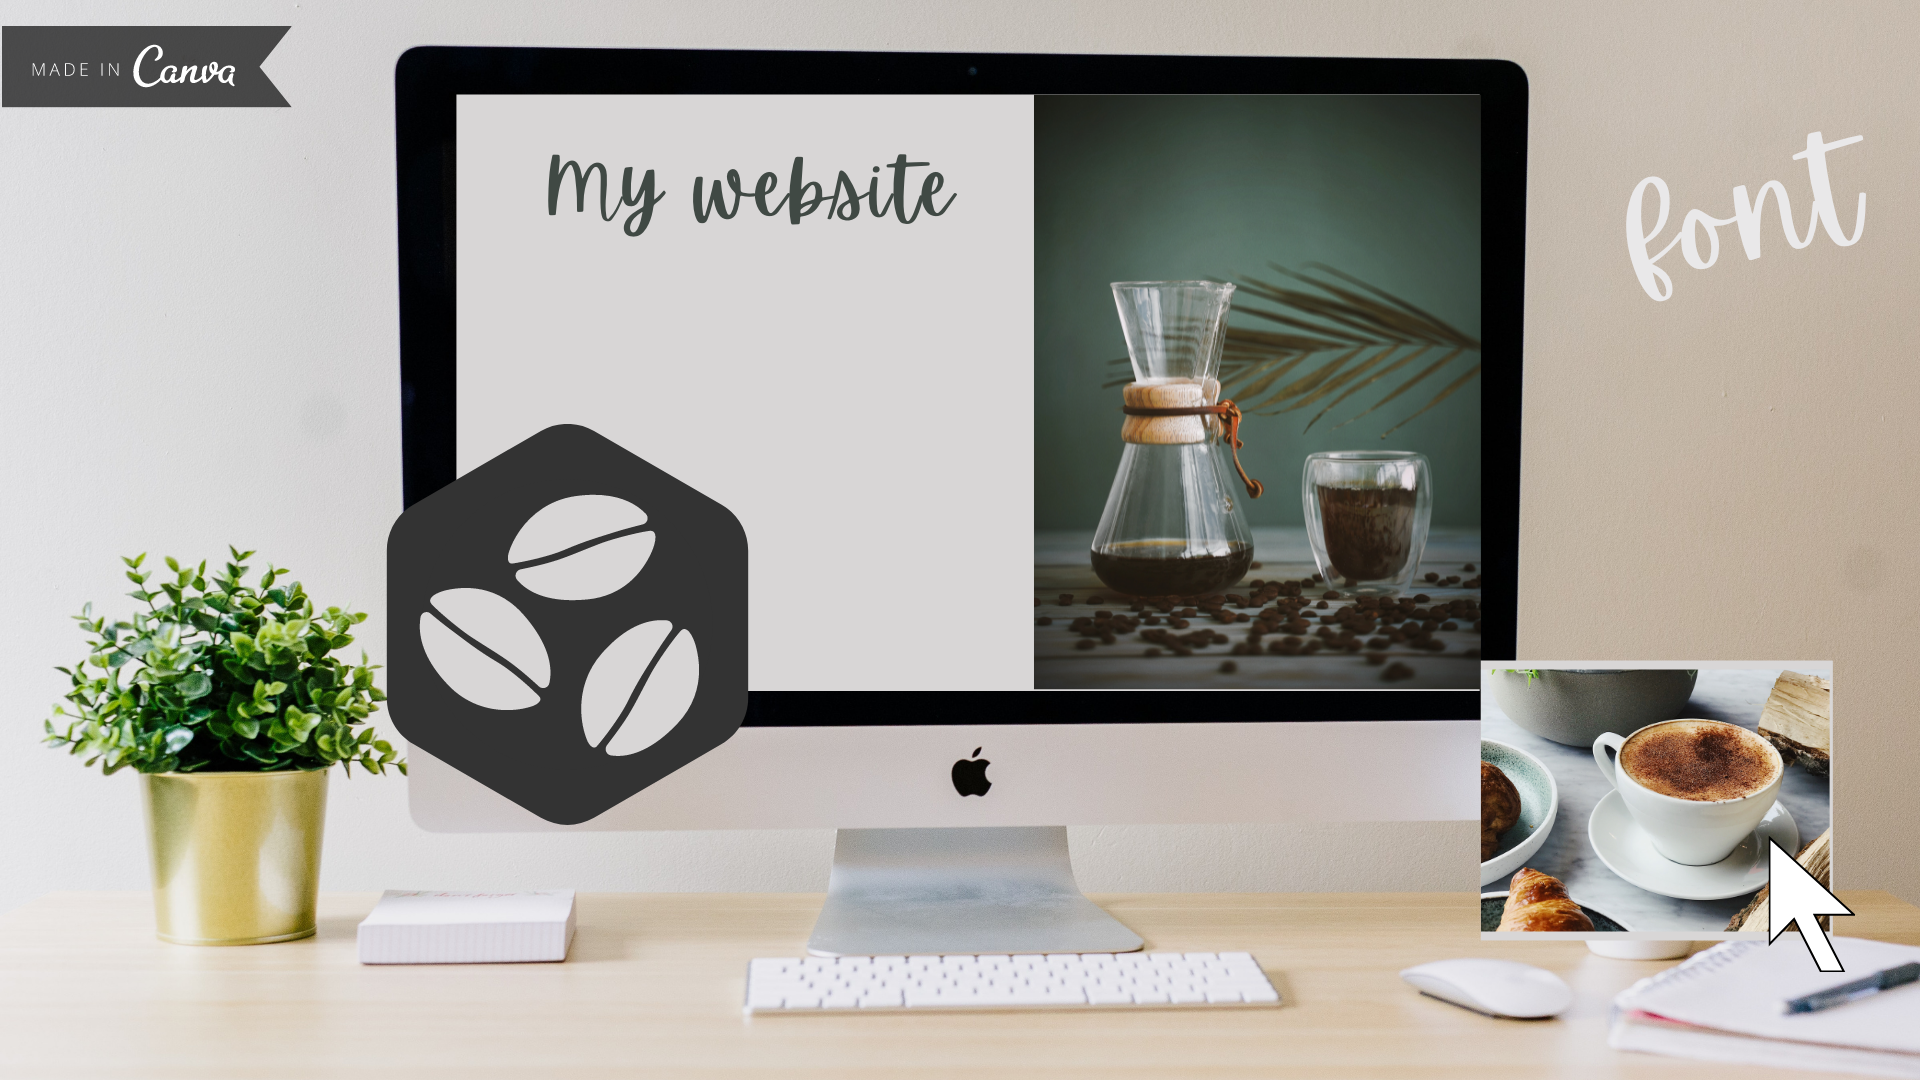
Canva is a free online platform, where you can create various graphic designs using a super-easy drag-and-drop tool. Canva also offers 100+ free templates that you can use for inspiration or as a starting point.

Canva is a graphic design platform, used to create social media graphics, presentations, posters, documents and other visual content. The app includes templates for users to use. The platform is free to use and offers paid subscriptions like Canva Pro and Canva for Enterprise for additional functionality.
(Source: Wikipedia)

I love, that Canva doesn’t require you to install anything on your computer, allowing you to use the tool on any computer immediately. It also has a mobile app, so you can implement quick changes or tweak a social post on the go too. (All functionalities are available on the app too, but I wouldn’t start to design a brand new PDF on such a small screen.)
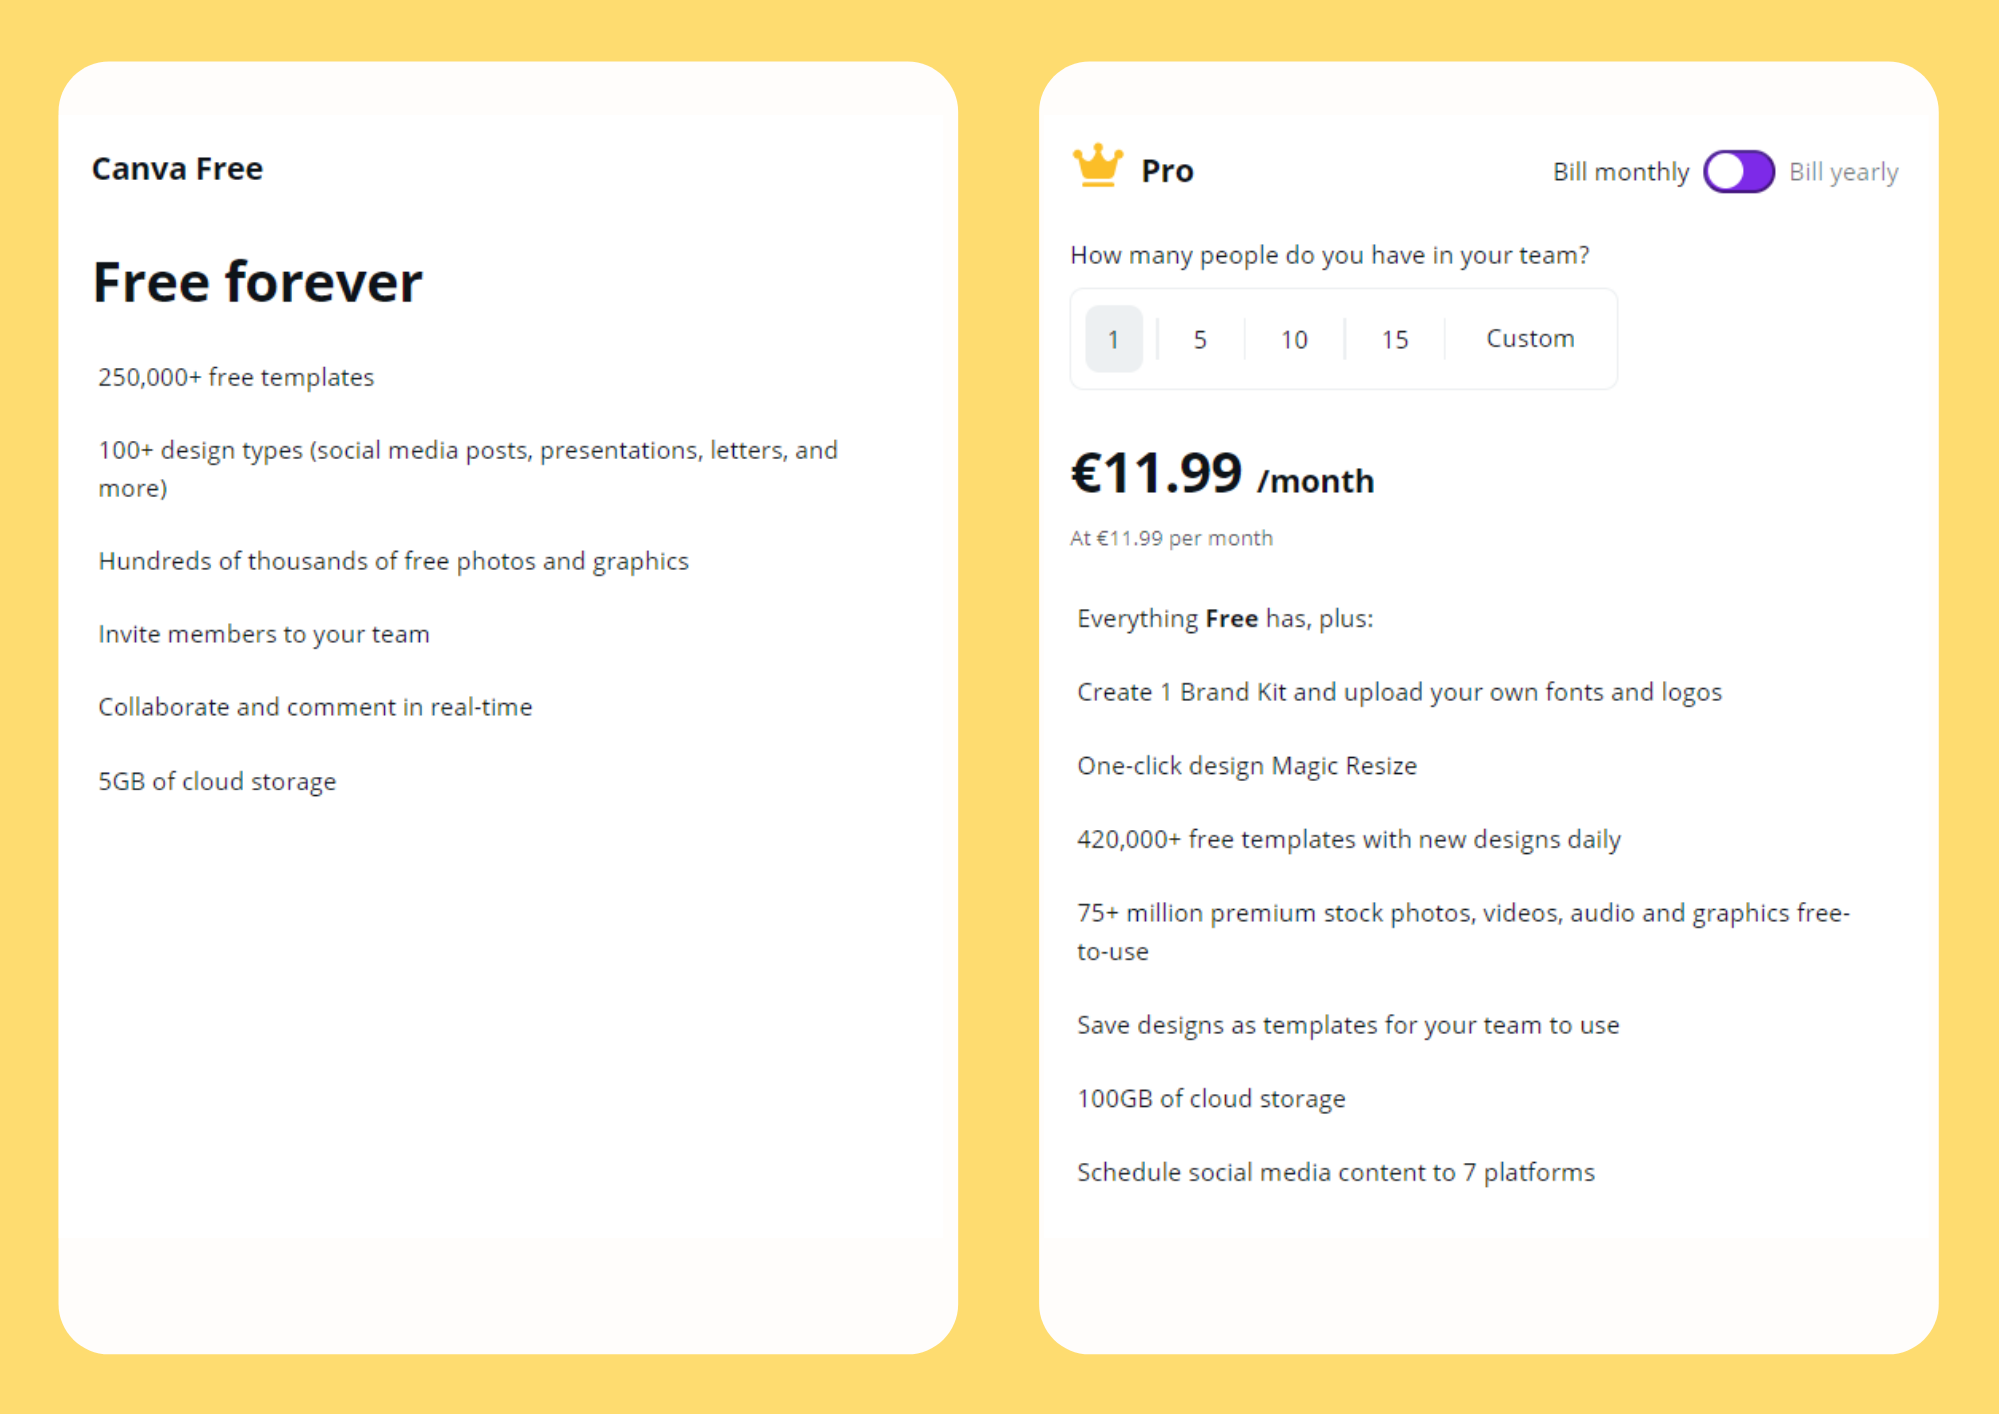
Free vs Pro

Free

The good news: Canva is free to use – if you are willing to make a few compromises. The biggest setback of free is, that you can’t upload your brand kit, which means you have to set your brand’s fonts and colours every time you start a new design. Also, you can’t resize your existing design. If you need another size you have to start a new project, copy the elements and rearrange them. You should also forget to download transparent images. The full list is a bit longer, but these are the ones I miss the most.

I must admit, these can be annoying, but if you’re not a heavy user or you’re willing to allocate a bit more time to this part of your creative process it’s still an amazing tool. I still use the free version.

Source: Canva.com (August 2021)

Pro

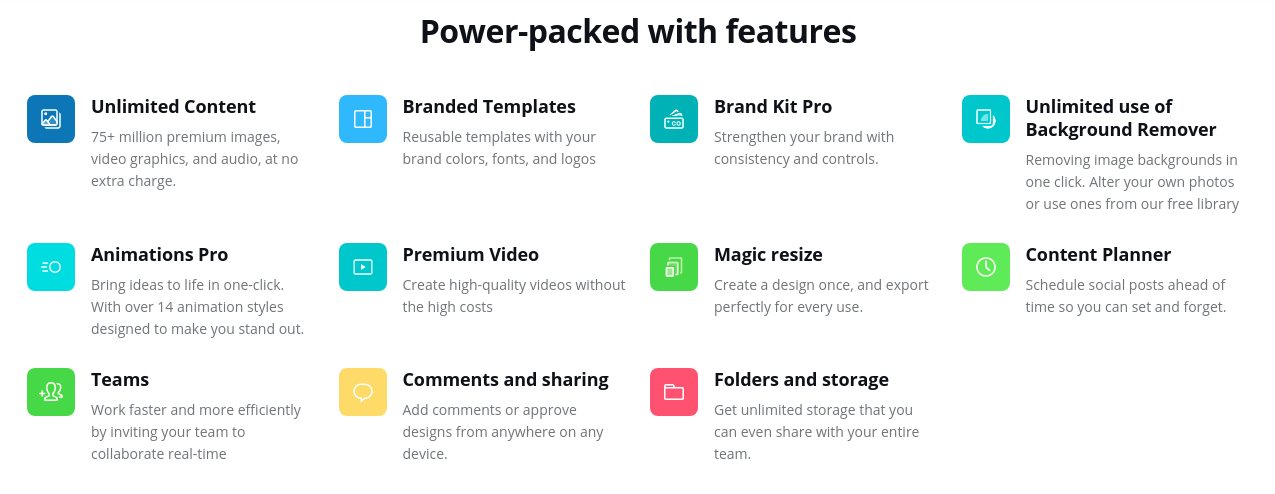
The Pro version can make your life easier. As I mentioned above it allows you to upload your brand kit and to have branded templates to ensure consistency. Also, resizing an existing design is literally only takes a click. It’s also a must if you often have to remove image backgrounds or have to export a transparent png.

Furthermore, you can pick from more free stock images and videos or you can create your own video if you wish. You can enjoy a new level of comfort with more folders and storage and a content planner. Pro is also (almost) a must if you work with a team, because it offers real-time collaboration.

Not sure yet? Canva offers a 30-day trial to everyone.

Source: Canva.com (June 2021)
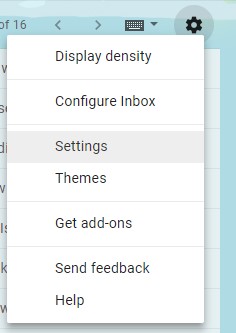
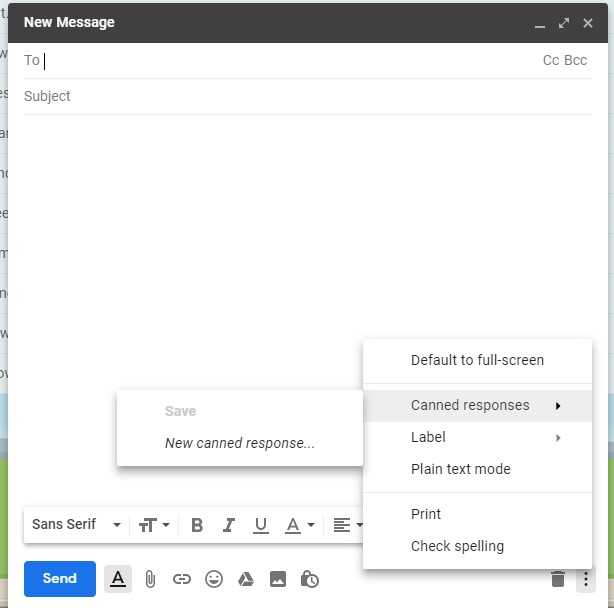
Tips and Tricks

Canva has a lot to offer, and it can be overwhelming at first sight, so I wanted to showcase to you my absolute favourite features – all from the free plan.

Custom size

Canva offers tons of pre-set sizes, but you can also pick any size you wish by clicking Create design > Custom dimensions. It can be useful to fit custom dimensions in WordPress.

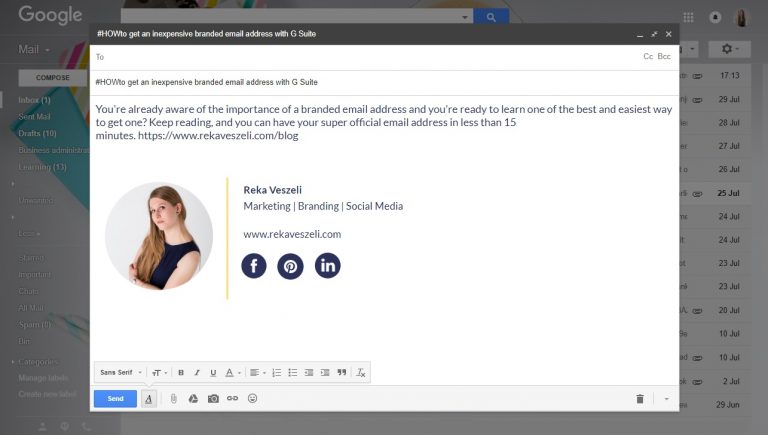
Animated social media posts

Video formats are ruling on social media generating higher engagement, than statics. Using Canva you have 3 options to make your image interactive easily. (Don’t forget to export as mp4 instead of png.)

1) Add animated stickers. – Under the Elements tab > Graphics > Stickers you’ll find some cute animations, like arrows, sparkles or circles.

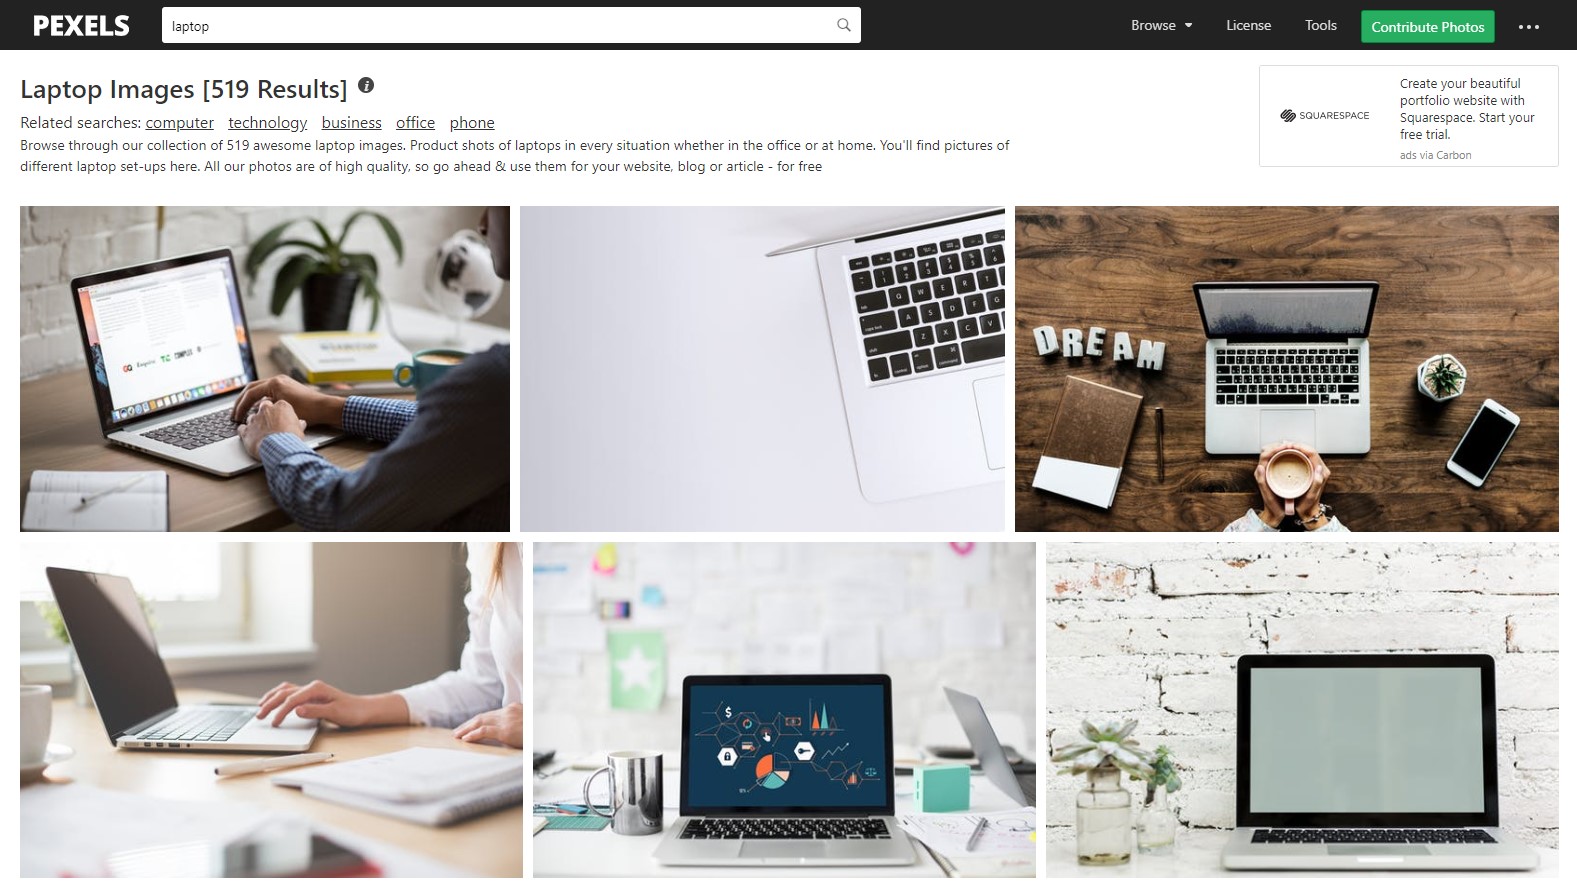
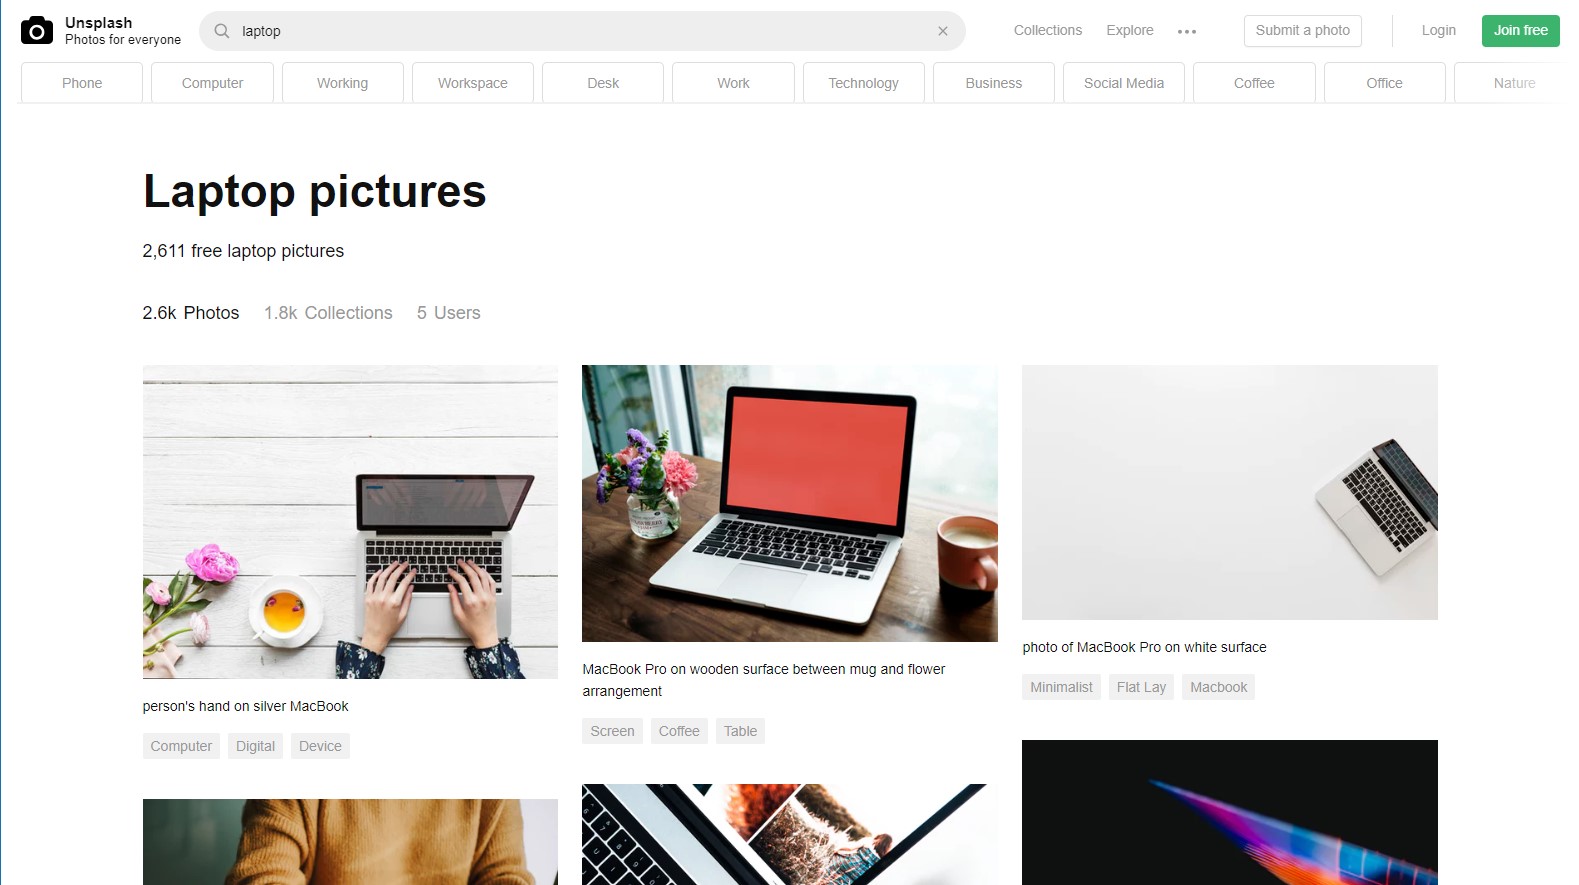
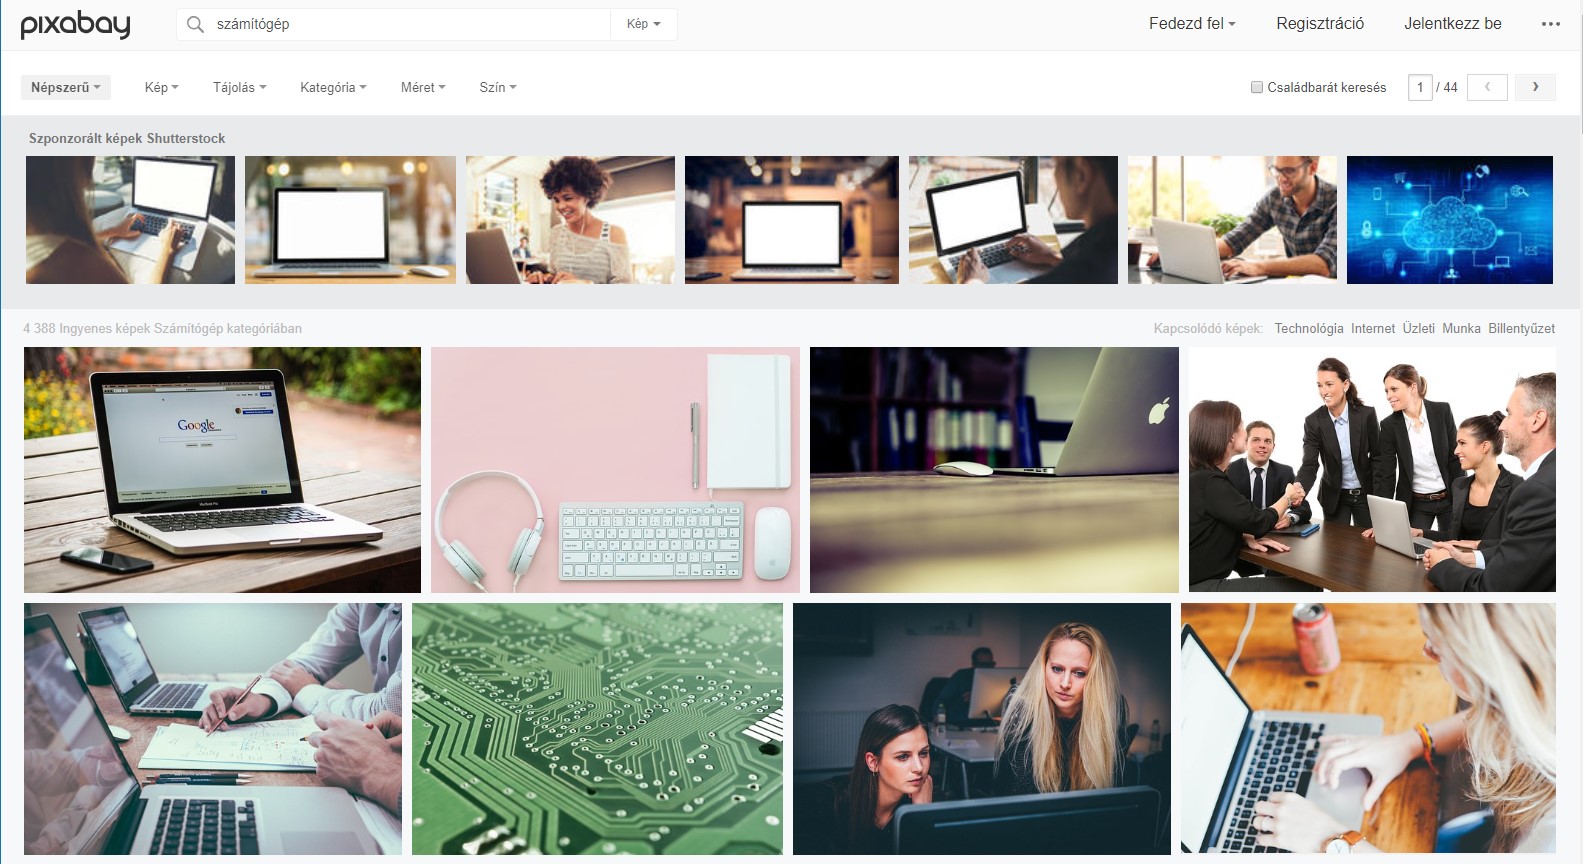
2) Add a video as background. – Browse Canva (Elements tab > videos) or upload your own video. Check out these 10 sites for more free images and videos.

3) Animate the elements on the image. – Above the design there is an Animate button with option, like Fade, Photo Zoom or Block.

Block animation at Canva.com
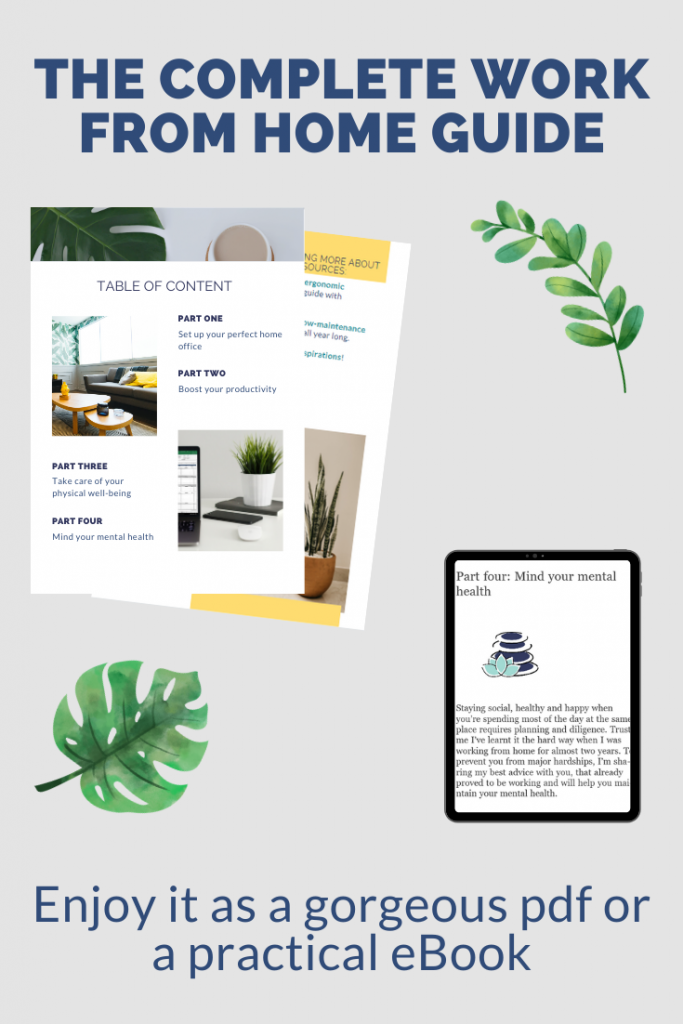
Download the Complete WFH eBook by clicking here.

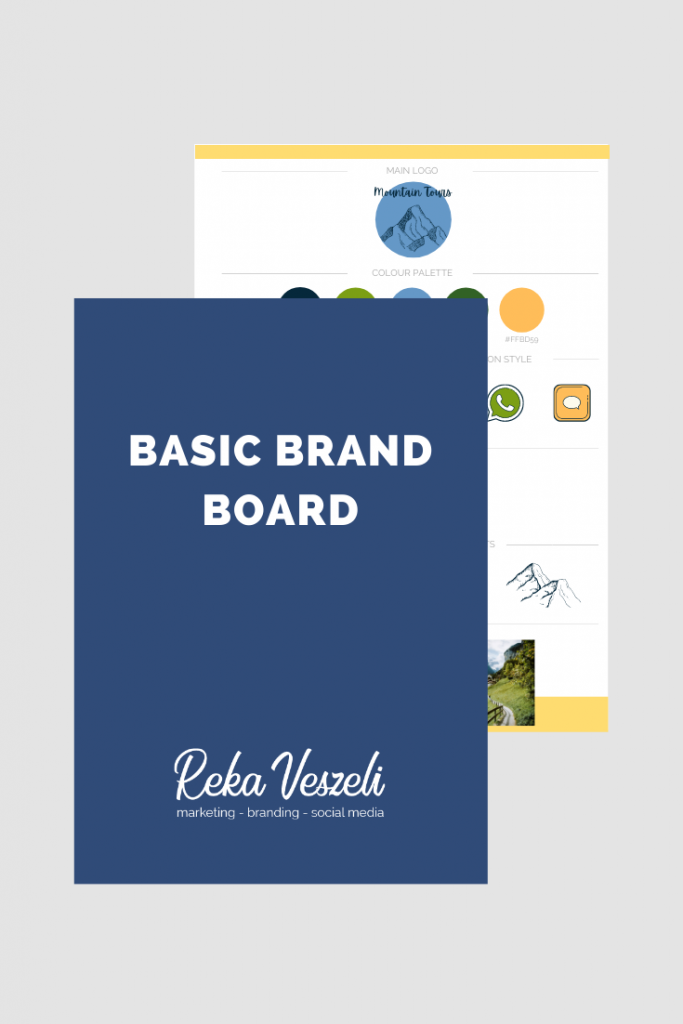
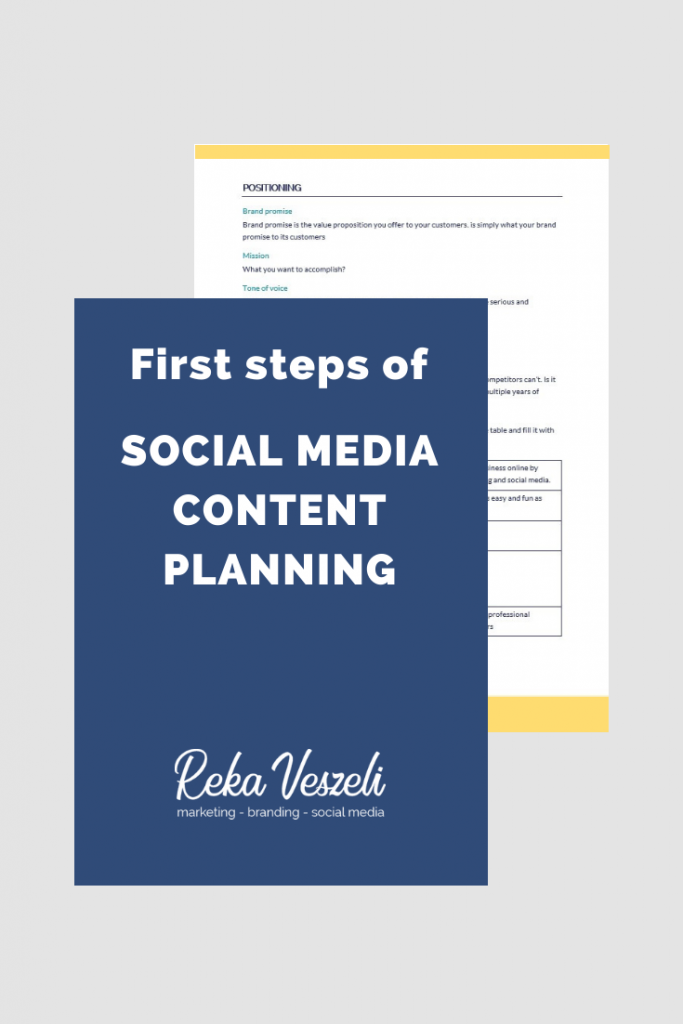
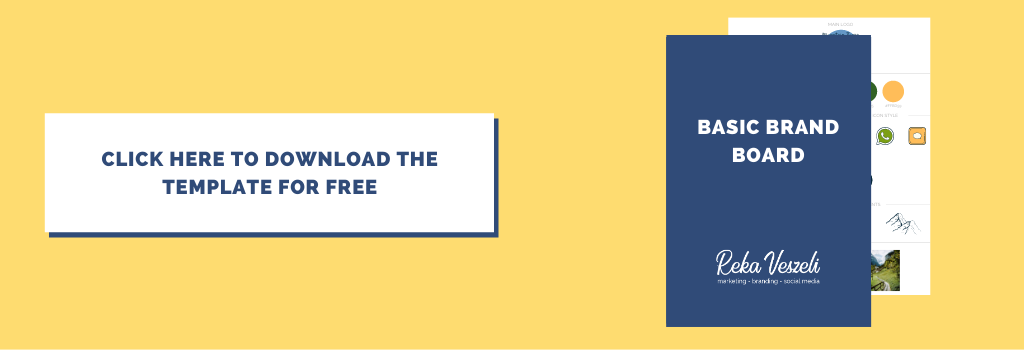
Have your brand board rEADY

If you’re paying for Pro you don’t have to worry about it, but as a Free user you’ll need your brand elements (especially colours and fonts) ready. You can create a Canva design just to store these and you can Copy + Paste them to every new design you start or you can use a separate document to use as a cheat sheet. If you’re not familiar with the concept of a brand board I suggest reading this blog post first.

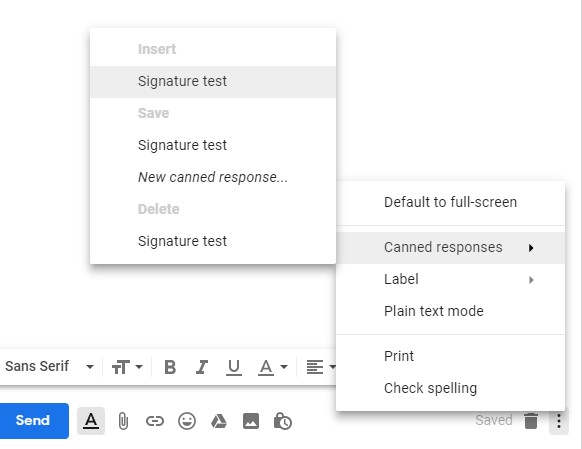
sAVE ELEMENTS AND IMAGES FOR LATER

When I browse among Elements I often find ones, that I know I could use later. Just click on the 3 dots at the upper right corner of that element and choose to Add to Likes. When you want to review your selections go to Folders > Likes.

Organise using folders

The free plan offers up to 2 folders to keep your designs organised and I strongly advise you to take advantage of it. On the home page, you can click on the top right corner of your designs and move them to an existing or a new folder.

Reka Veszeli, marketing tips, marketing, branding, social media, free guides, marketing downloadables, blog, podcast

Hi, I’m Reka,

Welcome to my website. Explore, find inspiration, motivation, and resources.

5+5 amazing sites for free stock photos

laptop, photos, desk
Reka Veszeli, marketing tips, marketing, branding, social media
Navigate the website

5 + 5 amazing sites for free stock photos you must know

In this article, I’ve collected my top 5 alternatives for iStock or Shutterstock if you are looking for royalty free images. In addition, I’ve done the research for you to find another top 5 option that is mostly recommended by other bloggers.

If you are looking for more engagement on social media the first thing to do is to improve your visuals. Photos that resonates better with your content and audience and a more cohesive look can make a huge difference.

“Easy to say… but how to do it without spending a fortune on stock photos?”

It’s not a surprise that Pexels is among the most popular ones. They offer a wide range of well-organized photos in their ever-growing collection. This is the first place to go for me and I usually don’t have to continue my search more.

Update: Now you can browse free videos too.

The website claims over 70,000 contributing photographers, so it’s not a surprise how large is their collection. The images are simply beautiful, and you can get any of those in high resolution in a minute. Sounds like a good deal, huh?

As you can see on the picture Pixabay automatically sets the language as Hungarian for me. (I guess based on my IP address.) This non-pre-made setting is not just making the surface more familiar but makes it possible to search in your native language – unlike many other sites. I generally prefer to search in English, but I like the opportunity to be able to search in other languages successfully.

If you are a marketeer this site is a must have for you as Pixabay seems to be more marketing and business oriented and it also offers free vectors and illustrations.

The free image collection of Canva might not the largest, but quality and uniqueness compensate the issue with quantity. If you are using the Canva design tool the process is even easier. Just choose your design, go to Elements / Free photos and add the image you like to your design.

Update: Now you can add free videos too.

The only site on my list that requires you to register in order to download any image is Rawpixel. To be honest, I’m not really a fan of being forced to do so, but once you saw its’ diverse collection – including vectors –  you’ll forgive it.

Haven’t found your favourite or still looking for more? Check these ones too

kobu-agency-703554-unsplash

Image source: Unsplash @Kobu Agency

How to use Royalty free stock photos

Creative Commons Zero (CC0) license basically means that you can use those photos as you wish. “You can copy, modify, distribute and perform the work, even for commercial purposes, all without asking permission.”

For more information visit Creative Commons

tips and advices

  • Mark the author
    I’ve been guilty of not doing this in the past, but as I’m getting more conscious, I’m always trying to mark the author too. I think a mention on the website or a hashtag on Instagram is the least we can do for our photo-heroes.

  • Choose your favourites, but don’t forget the others
    Having your favourite site can save you time on searching, but it also narrows your opportunities. I suggest bookmarking multiple options and look around on other sites from time to time.

  • Save your favourites for later
    Think about tomorrow. You know your visual style and your content types, so it should be a no-brainer to decide which images can be useful later. Create a folder on your computer and save those images you feel can be useful later.

  • Don’t rely only on stock images
    Stock photos are amazing, but nothing is better than original and truly unique images. Try to use your own pictures as much as possible.

This article is not a sponsored content. I haven’t been hired or paid to recommend any of the sites.

All about Gmail signatures: How to create and set multiple beautiful email signatures

[elementor-template id="4197"]

All about Gmail signatures

How to create and set multiple beautiful email signatures

Having a killer email signature will make the first impression of you last even longer. A good one contains all the most important contact information, but it can be used to promote your best performing article, subscription link and social media channels.

The basic Gmail signature form provides only limited editing options, but with the help of Google Docs and Canned responses you can create breath-taking professional signatures.

If you are interested in how to get an inexpensive branded email address with G Suite read my previous article.

source: Pexels author: hamonazaryan1

Create the signature

1) Open Google Docs and create a new document

2) Create your signature
The surface is quite similar Word. You can insert tables and edit the borders and the wideness of the columns. You can insert images and links too. Google saves the changes automatically

3) Copy it with Ctrl+C 

Add the signature as canned responses

1) Log in to Gmail

2) Click the gear icon on the right. Select settings

3) Select the Advanced tab

4) Enable Canned responses option (Don’t forget to save changes)

5) Click on Compose – like you do when you’re about to write a new email

6) Add your pre-made signature (Ctrl+V)

7) Click on the 3 dots at the bottom of the open window and choose Canned responses / New canned response… under Save

8) Edit the name and save it

9) If you would like to add multiple signatures just repeat these steps

How to use canned responses

Add a canned response

When creating a new email or replying to one click on the 3 dots in the new message window and choose Cannes responses. Choose the name of your canned response under Insert.

Edit a canned response

Edit the previously inserted signature or create a new one. Click thename of the canned response you want to edit under Save.

Delete a canned response

Click the canned response you want to delete under Delete.

Have any questions? Post it on Facebook or Instagram or drop a mail to hello@rekaveszeli.com.

This article is not a sponsored content. I haven’t been hired or paid to recommend G Suite. The article was published in 09/2018, so parts of it might be outdated.

BiteSize, bite-size, snackable, marketing, marketing tips, basics of marketing

Subscribe and get access to the collection of my free downloadables

Posts that you may also like

[elementor-template id="4201"]

5 reasons why you need a professional email address

professional email address
Reka Veszeli, marketing tips, marketing, branding, social media
Navigate the website

5 reasons why you need a professional email address

As a new business owner, you have plenty to do – I know – and getting a personalized email address might seem like another task on that long list, that doesn’t even worth the effort, but trust me it does. Having a branded email address offers you several advantages, so I’ve collected the top five to convince you.

branded professional email address

1) Make your first impression count

An email can be the first impression of you, and probably you want to make it as professional as possible. A generic address suggests, that you are not a professional blogger, an entrepreneur or a small enterprise owner, only an enthusiastic fellow who has a part-time passion. Nice image, but I’m pretty sure it’s not how you want to be pictured in your future customers’ mind. 

2) Build trust

One of the first things that make me uncertain about contacting a business for their services or products is when I see their email address is mybusiness@gmail.com or @yahoo.com.

A branded email can be encouraging by giving the sense of security and the picture of a serious business. Let’s be honest. Whom would you rather trust – and send money or personal data? A random gmail address or to a professional one? Exactly…

3) It is easily available and inexpensive​

There are multiple ways to get a professional email address. It can be provided by your hosting / website / domain provider or you can choose other solutions – like G Suite. No matter which one you prefer it will probably took you less than 15 minutes and about 0 to 5 EUR per month. Not a big deal, right?

Do you want to know how to get an inexpensive personalized email address in just minutes? Check out my post: How to get an inexpensive branded email address with G Suite

4) Standardized email addresses

It seems like a good idea to have a generic address for your business – until you need a second one. By having a branded address, you can standardize your email accounts. You can provide separate email address to every colleague of yours (like reka@mybusiness.com) or to every department (sales@). This method also can be useful if you have a newsletter (newsletter@) or special promotions (promotion@ or 2for1@)

Example: Currently we are using hello@rekaveszeli.com as a general contact address and support@rekaveszeli.com for GDPR and privacy related questions or support requests.

This way no matter how fast your business grows or how the customer needs changes you will be able to keep pace with it and maintain the professional look all the way long.

5) Brand awareness

And last, but not least: never forget about branding. You should be proud of your company and you should promote that – not a mail provider. Your contact info is one of the most important and essential part of your business. Don’t neglect it.

This article is not a sponsored content. I haven’t been hired or paid to recommend G Suite or any other email provider.